fantastic day. Today my hubby got called into work and
that means... Major Craft Day For Me:) I am excited to share
Halloween projects with you in September. I will be dedicating
the every Saturday in September to Halloween decorations.
I have some really exciting things planned and can't wait to show
all of you!
Anyway...
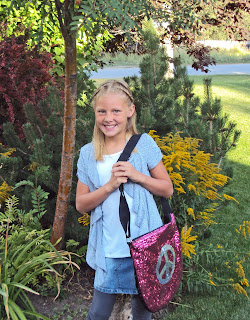
This week was a little sad for me. My lil sister went
back to school. I decided to surprise her with a
new wall decal I put in her room when she got home.
I have been eyeing this really cute wall decal by EAD designs for months now.
I decided now was the perfect time to pick it up and surprise the lil sis.
I found the perfect place on her wall for it!
It turned out ADORABLE! I hope she
loves it as much as I do! This is the
perfect wall decal for any little girls room.
EAD Designs also has some fantastic instructions
to make your wall decals perfect.
*****
Vinyl Lettering Application Instructions
1. Surface Preparation
Use a tape measure or ruler to determine the exact
area where the quote/graphic will be placed. It is a
good idea to draw a horizontal line, or use masking
tape or painters tape for a guide. Make sure your
surface is clean and smooth.
The vinyl can be installed just about anywhere you
want to put them. Painted walls (light and medium
texture work fine, including knock down and
orange peel) ,wood, furniture, ceramic tile, metal,
glass, porcelain, painted brick, wallpaper,
bathroom sinks, showers, doors, hardy plank,
mail boxes, and much more.
2. Prepare Quote
Some quotes/graphics will come rolled up because
of the length. Unroll and let it sit flat until it stops trying
to roll itself up again. The vinyl is sandwiched between
transfer tape and backing. You want the vinyl to stick
to the transfer tape.
Before peeling the back paper off, burnish (rub) the
surface of the transfer tape to ensure the vinyl is
adhered solidly to the transfer tape. (letters may
pull away from the transfer tape during shipping)
3. Application
Flip the quote/graphic over a carefully peel the
backing away from the quote on an angle, which
should remain on the transfer tape. If some of the
vinyl sticks to the backing, replace the backing
and the vinyl to the tape and rub it again so it
sticks to the transfer tape instead.
Place the taped vinyl on the prepared surface
using your guide or tape to position your vinyl
correctly. *The quote cannot be repositioned
once it is on your surface, so be careful to
line it up where you want it.
4. Burnishing
Using the application stick or credit card carefully
and press any air bubbles out from underneath
the words. Burnish again and apply more pressure
over the entire area.
5. Transfer Tape Removal
CAREFULLY peel back the transfer tape on an
angle leaving the vinyl on your surface, If the vinyl
tried to come up with the transfer tape, place the
tape back on the surface and burnish that area
again until the vinyl sticks to your surface.
********
Doesn't that sound super easy! Make sure
you go check out EAD Designs today and
get some cute wall decals!


This is sooo precious! I'm sure she will love it. Great job.
ReplyDeleteCandy
candyscraftcorner.blogspot.com
I Love It! I'm sure she will too. What a nice surprise for your little sister. Smooches... Felicia
ReplyDeletekassidy, this is a lovely image.
ReplyDeleteand love the bit of landscaping i saw behind that pretty sister of yours :) being a wanna be gardener" my eye wonders to it. :P
tfs!
That came out so beautiful.
ReplyDeleteDIANA L.
http://dianamlarson.blogspot.com